Why Event Brands Rent Photo Studios for Pre-Event Marketing
If you’ve ever seen a fire event campaign drop before the actual event, chances are it didn’t just happen on someone’s phone camera. Event brands are increasingly renting professional photo studios these days to create scroll-stopping content that builds hype early.
The reason behind this is that first impressions now happen online during your promotions on social media. To make the most out of this, you need a rental-controlled studio setup. Such spaces offer perfect lighting along with different curated backdrops and content that aligns exactly with the brand vibe. To further equip you, here is what leading event brands are doing with their rented photo studios for pre-event marketing and how it’s making them huge profits.
Pre-Event Marketing Strategy: Key Takeaways
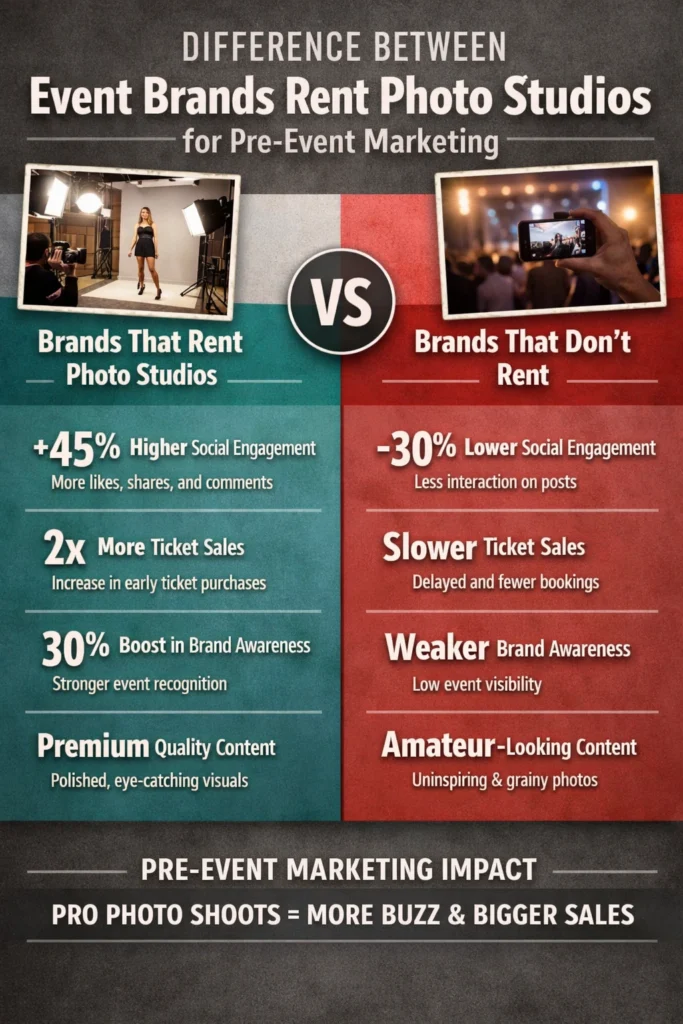
Event success really gets decided in the weeks and months before it happens, not just on the day itself. Strong pre‑event marketing is what builds buzz, explains why the event is worth someone’s time, and pulls in people who are actually a good fit to attend and buy. For a lot of brands, rental photo studios quietly become a big part of that. They make it easier to batch‑produce on‑brand visuals that are ready to drop straight into ads, emails, landing pages, and social posts. When those visuals are used well across channels, they tend to lift engagement, make the event feel more polished & credible, and support the numbers afterward in terms of leads, sign‑ups, and overall ROI.
Why Event Brands Need Pre-Event Marketing?
It shapes audience expectations and perceived value
Did you know? Behavioral research published in Elsevier Inc.’s Industrial Marketing Management edition shows that people make event attendance decisions based on expected outcomes, such as learning opportunities, networking access, or entertainment value.
The perceived value of an event is largely constructed before it happens. Hence, event brands through event brand photo shoots communicate key details, agenda, speakers, experiences, and exclusivity. This helps attendees evaluate whether the event is worth their time and money. If these expectations are unclear or undercommunicated, even high-quality events can suffer from low turnout.
It directly drives qualified attendance (not just sign-ups)
For any event, it’s not just about gathering a crowd; it’s about attracting the right audience. Event brands recognize this, which is why pre-event marketing plays such a crucial role in clearly communicating who the event is for and what it aims to deliver. By doing this early on, brands can segment and target people based on intent, industry, job role, and behavior, leading to more relevant, high-quality attendees instead of inflated registration numbers. This approach is important because event ROI today is no longer measured by footfall alone. Instead, success is defined by tangible outcomes, such as deals closed, partnerships formed, and leads converted.
It builds brand awareness before the event even exists physically
Events are time-bound, but awareness-building is not. Pre-event marketing extends the lifecycle of an event brand by introducing it to audiences weeks or months in advance through digital channels like social media, PR, and influencer collaborations. This early visibility through branded event photography is crucial because modern consumers require multiple touchpoints before making a decision, often 6–8 interactions. Pre-event campaigns position new or recurring events in the audience’s consideration set long before ticket sales peak. Without this phase, brands rely on last-minute promotions, which cost more and deliver weaker results.
What Is The Significance Of Rental Photo Studios In Pre-Event Marketing?
To produce large volumes of content efficiently before launch
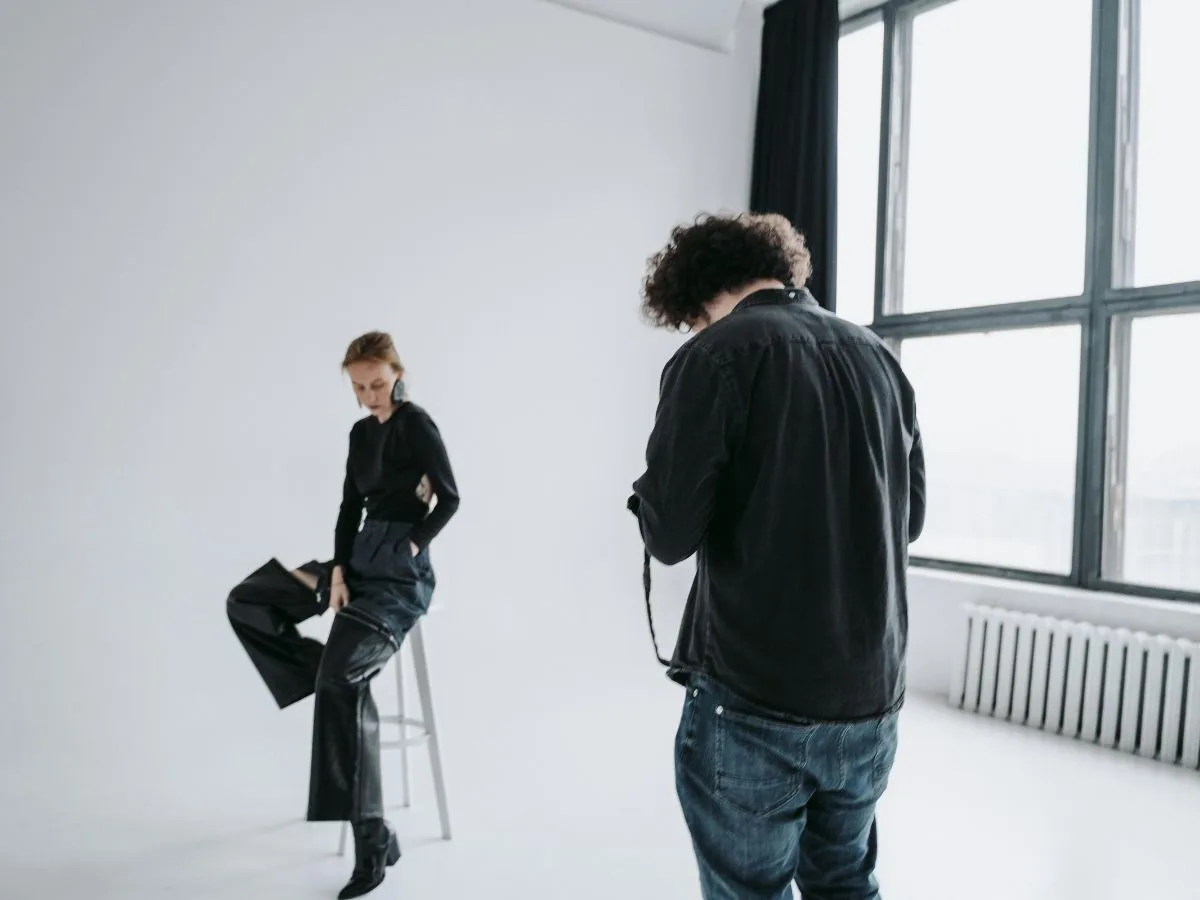
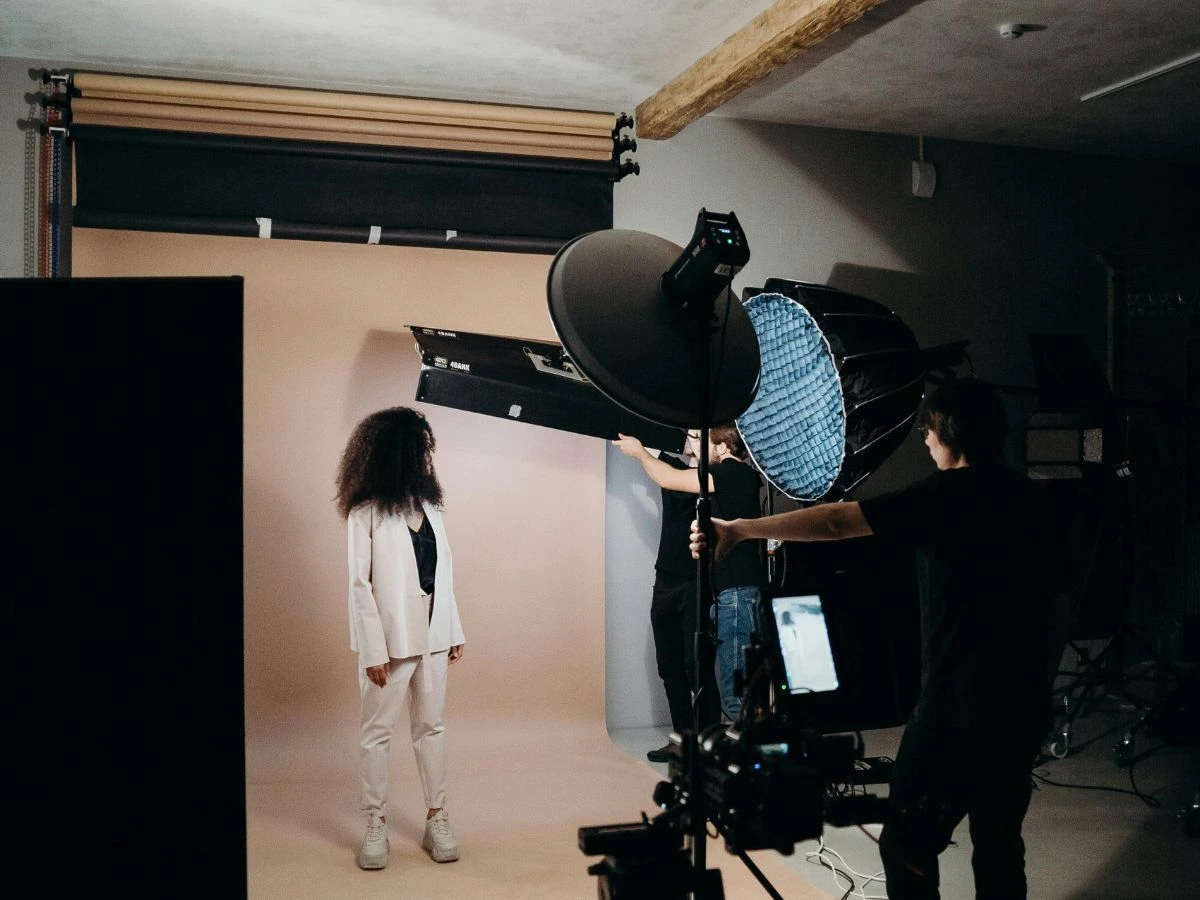
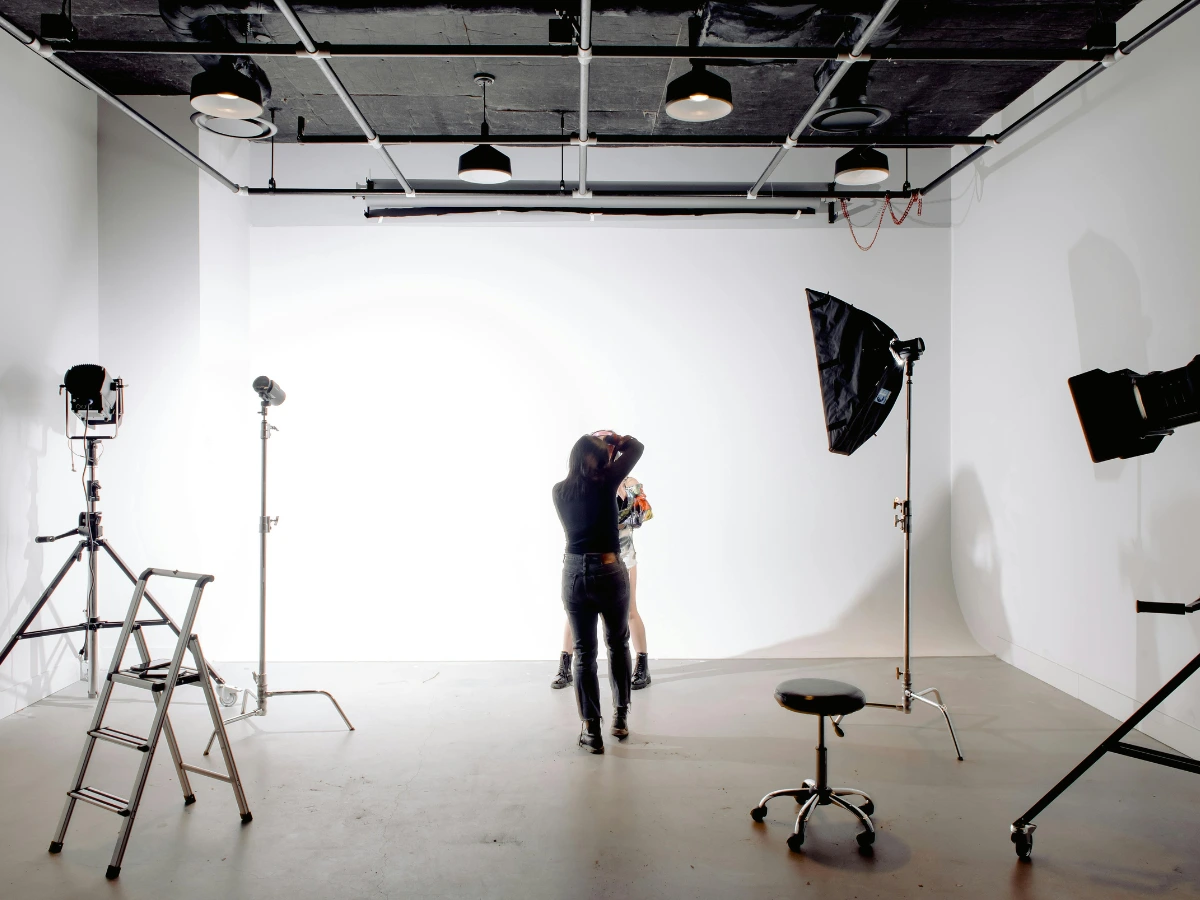
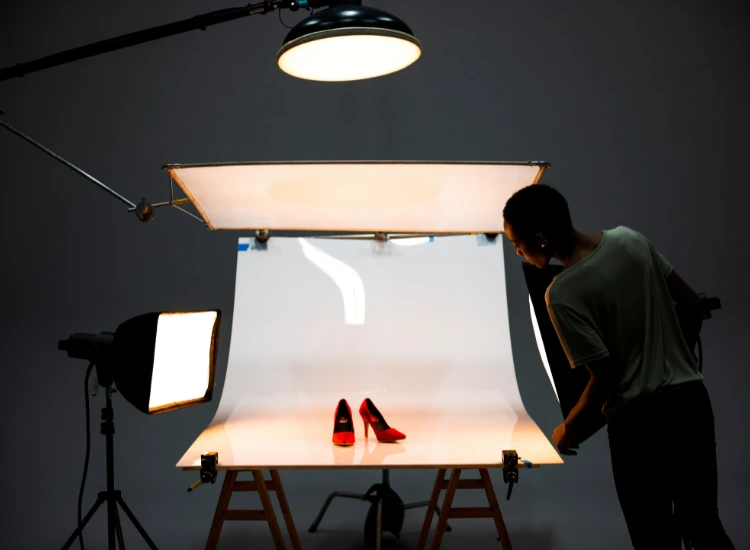
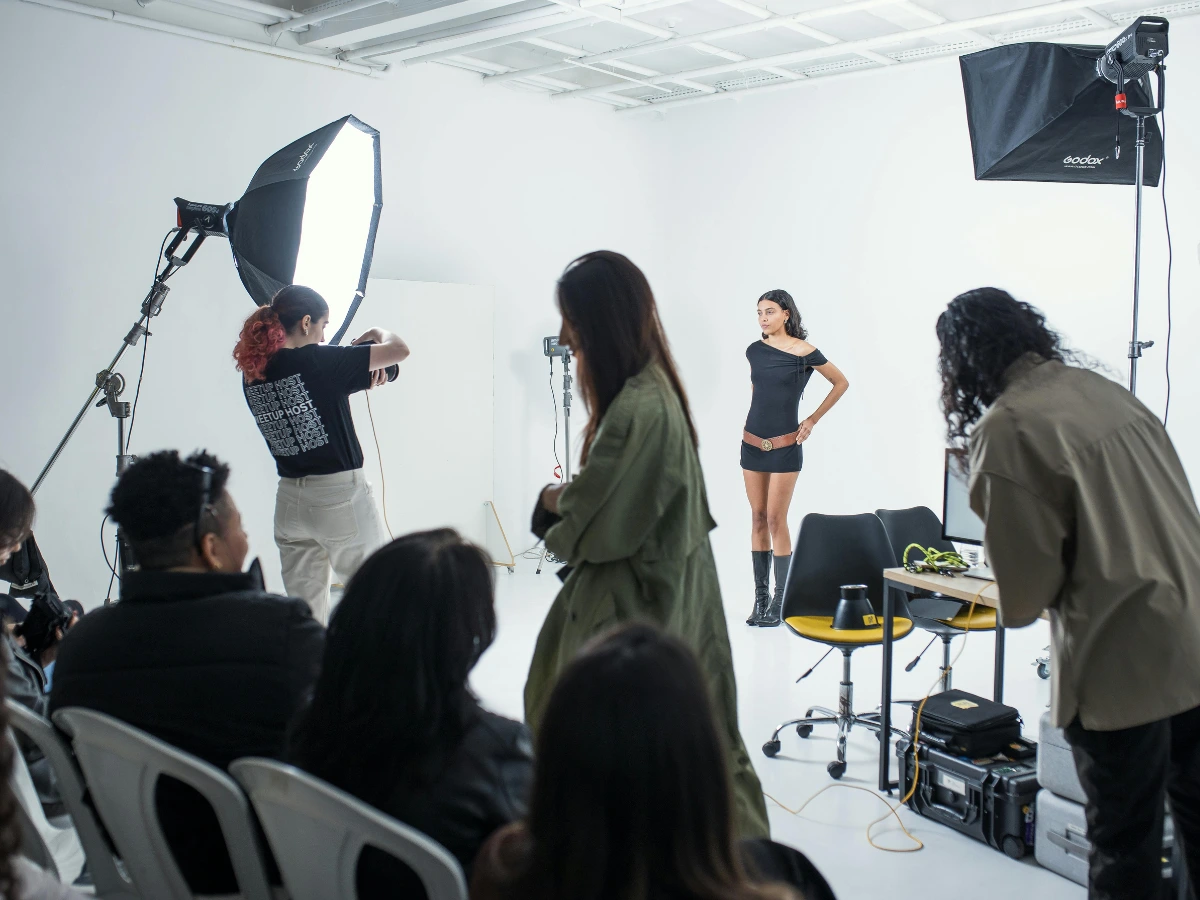
Event campaigns require multiple assets, speaker portraits, teaser visuals, sponsor creatives, social media posts, and ads. Rental studio photography for event promotions streamlines production by enabling teams to shoot multiple formats in one controlled session, reducing time and logistical complexity. Compared to outdoor or scattered shoots, studio environments significantly speed up production timelines, allowing faster campaign rollouts.
To create sponsor-ready marketing collateral that meets brand standards
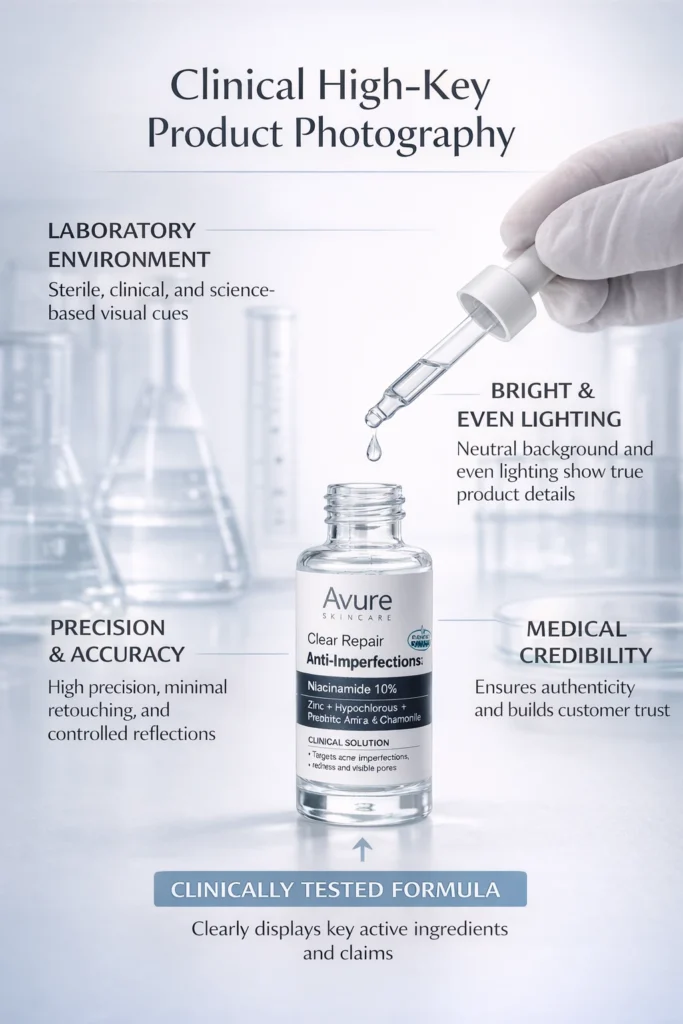
Sponsors are a major revenue source for events, and they expect high-quality co-branded content. Studios allow event brands to produce clean, customizable assets (like sponsor banners, product photography shots, and announcement creatives) that align with sponsor guidelines. This is critical because sponsors often reuse these event brand photo shoot materials for their own promotions, and low-quality visuals can damage both the sponsor’s and the event’s brand value, impacting long-term partnerships.
To simulate the event experience before the event exists
Unlike physical products, events are intangible until they happen. Photo studios help bridge this gap by allowing brands to stage elements of the event, such as mock setups, themed environments, or styled scenes, that visually communicate what attendees can expect. This is especially important for first-time or rebranded events, where there are no past visuals to rely on. It reduces uncertainty and helps audiences visualize the experience, increasing conversion rates.
To align multi-stakeholder marketing (organizers, agencies, influencers)
Event campaigns often involve multiple parties, internal teams, creative agencies, sponsors, and influencers. A studio shoot creates a centralized production environment where all stakeholders can generate aligned content in one place. This avoids fragmented visuals and messaging that can occur when different parties create assets independently. For event brands, this alignment is crucial to maintaining a unified campaign narrative across platforms.
To optimize content specifically for paid advertising performance
Event brands rely heavily on paid ads (Meta, Google, LinkedIn) to drive registrations. Studio shoots enable the creation of multiple ad variations, different formats, compositions, and messaging styles, optimized for A/B testing. This high-quality branded event photography is important because ad performance is highly sensitive to creative quality and variation. Having a library of studio-shot assets allows marketers to continuously optimize campaigns and reduce cost per acquisition.
To ensure legal and commercial usage rights for marketing assets
Using random or externally sourced images can create licensing and usage issues, especially in paid campaigns or sponsor collaborations. Studio shoots give event brands full ownership or clear rights over their visuals, allowing unrestricted use across ads, promotions, and partnerships. This is particularly important for large-scale events where professional photography content is distributed widely and commercially, and legal clarity is essential.
Conclusion
At the end of the day, the brands that stand out are the ones that invest in how their event shows up before it even begins. So, if you’re looking to level up your pre-event game, Gratton Studios offers the space and setup to make every campaign asset count. Book your shoot and start creating smarter today.
FAQs
How far in advance should event brands start pre-event marketing?
Your event brand marketing campaign should begin at least 8 – 12 weeks before the date of the event. If the event is happening on a supermassive scale, then it is advised to start marketing 3 – 6 months in advance.
What types of events benefit most from studio-based marketing shoots?
If you are hosting corporate conferences, product launches, high‑end or luxury experiences, music and cultural festivals, and influencer‑driven events, you definitely need a professional studio for a perfect photo shoot.
Should event brands hire professional photographers for studio shoots?
Without a doubt, yes. You already have a lot on your plate to do for the event; apart from that, you aren’t trained to take pictures like a pro photographer is. So if you need that expertise, hire professionals.
How can event brands repurpose studio content after the event?
Your studio content can be repurposed as your post-event highlights, future promotions, sponsorship decks, and brand portfolios. This helps in extending its value beyond a single campaign cycle.
Can video content also be produced in rental photo studios?
You can shoot video content in a rental photo studio. Many photo studios support shooting videos.